首先我们知道使用https://www.rust-lang.org/zh-CN/官方下载器下载安装的rust主要有两个文件夹,而且会默认生成到C盘下。
但是,我们通过修改环境变量可以自定义安装路径。
此教程,为C盘不多的你们节省空间
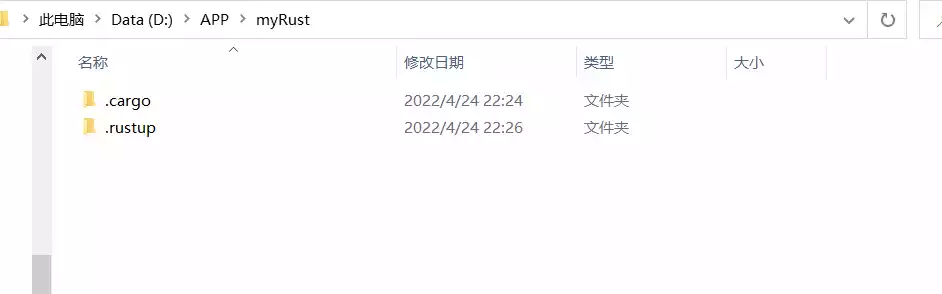
1.在任意目录新建这两个文件夹
2.如下配置环境变量
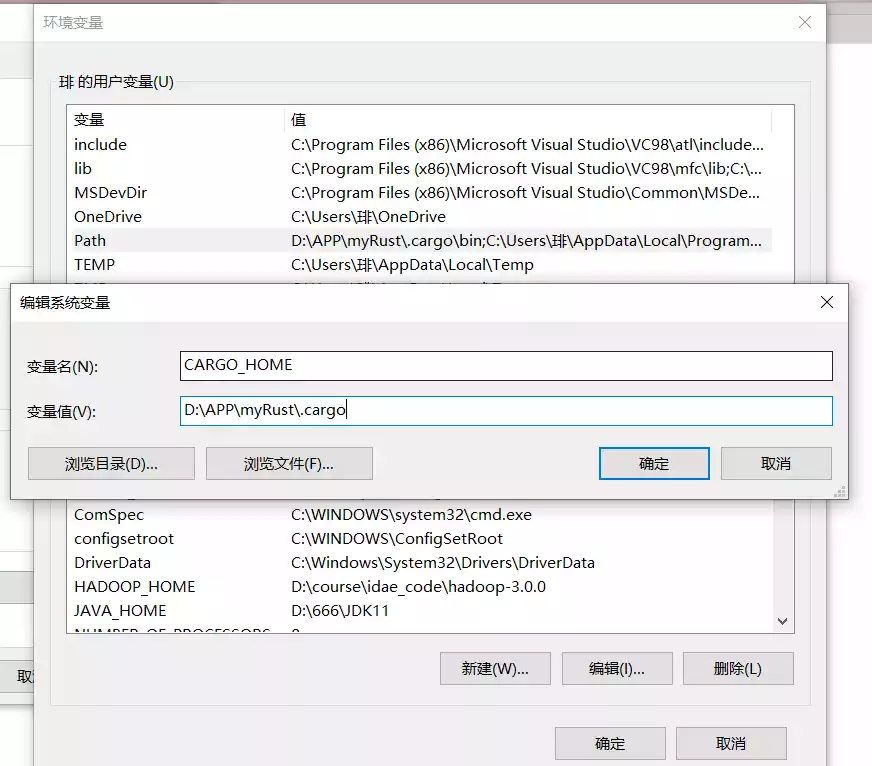

并且在path中加入

3.打开官网下载的exe安装文件,可以看到安装路径发送改变,比如我的是D:\APP\myRust
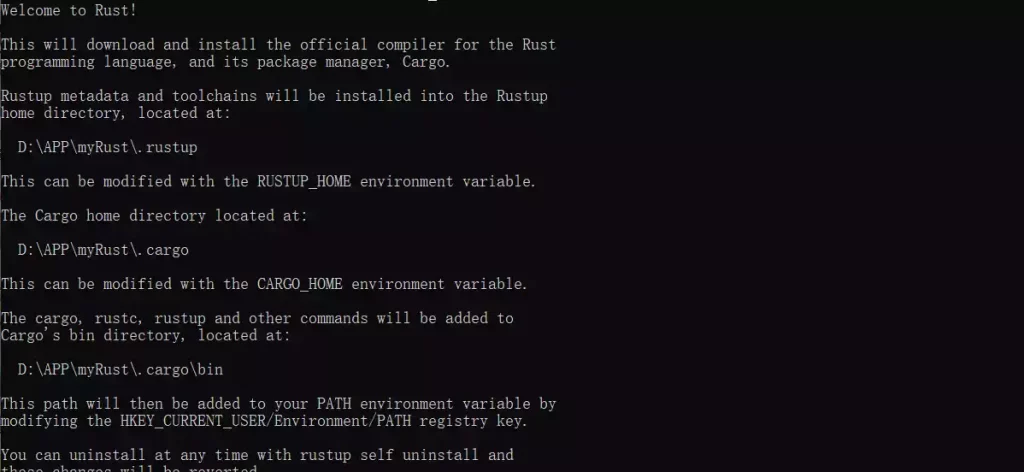
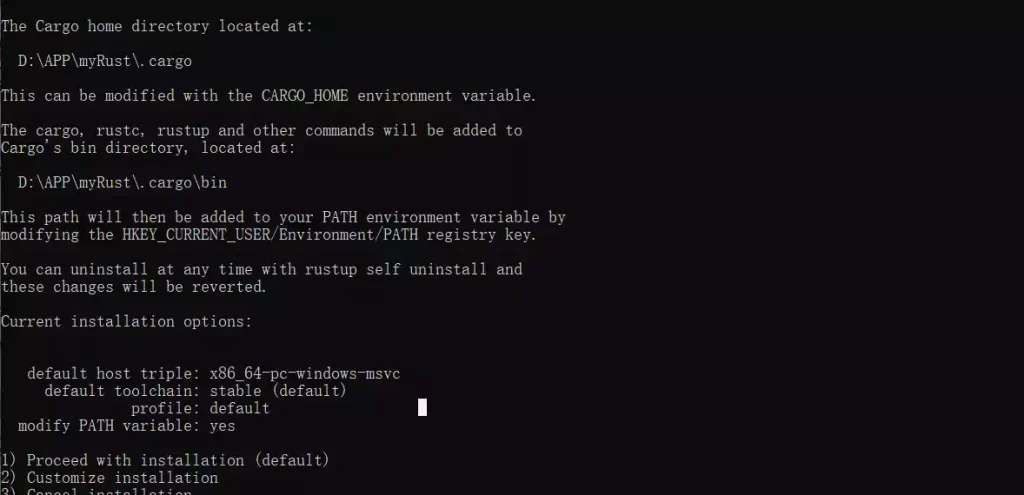
4.看到路径是我们设置的环境变量所在文件夹后,默认安装
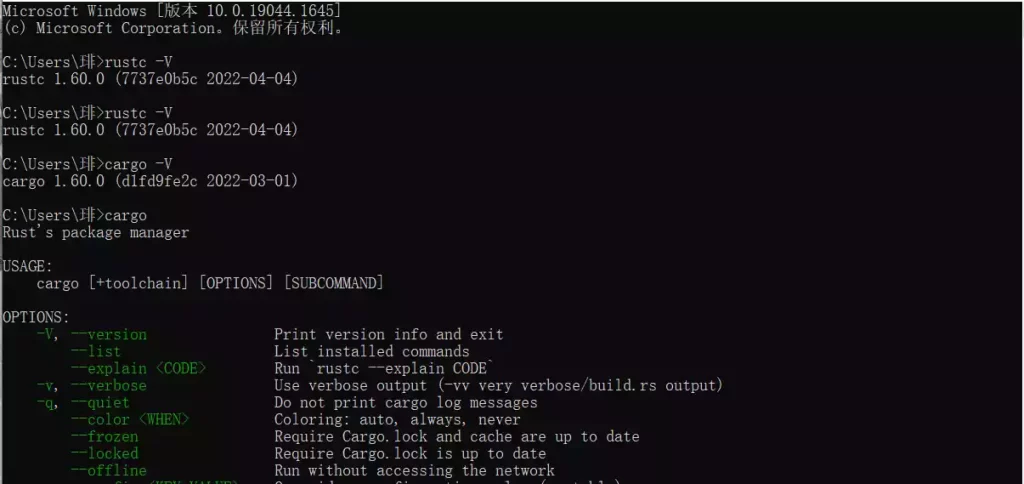
5.安装完毕后,会自动关闭窗口,此时打开控制台,测试指令rustc、cargo
备注:
在我的Win11 X64上,上面手动的方法不太好使,执行下面的批处理脚本后重启系统即可生效
setx RUSTUP_HOME "F:\installsoftware\Rust\.rustup" /m
setx CARGO_HOME "F:\installsoftware\Rust\.cargo" /m
setx RUSTUP_UPDATE_ROOT "https://mirrors.tuna.tsinghua.edu.cn/rustup/rustup" /m
setx RUSTUP_DIST_SERVER "https://mirrors.tuna.tsinghua.edu.cn/rustup" /m